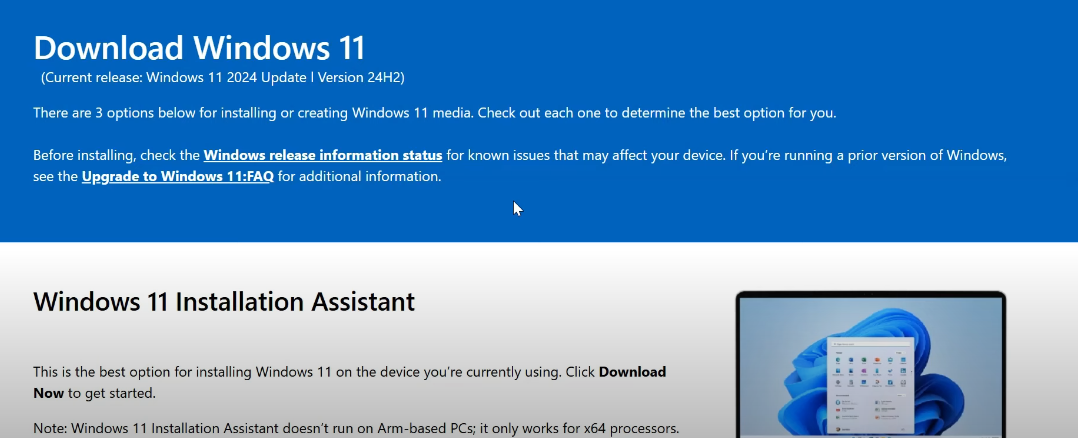
Have you ever found yourself needing an older version of Windows 11 for testing, compatibility checks, or simply personal preference? Microsoft doesn’t always make it easy to obtain previous Windows ISOs, but with the help of a fantastic tool called WDump, you can easily access and download a wide range of Windows versions directly from Microsoft’s servers.
In this article, we will guide you step-by-step on how to use WDump to download older Windows 11 ISOs, such as versions 23H2, 22H2, and many others. Let’s dive in!
What is WDump?
WDump is a website that facilitates the direct download of Windows installation files (W files) from official Microsoft servers. These W files are the same files used in Windows updates, ensuring that you’re receiving legitimate and secure versions of the operating system. WDump even helps you convert these W files into bootable ISO images that you can use to install Windows on your PC.
Accessing WDump
The first step is visiting the WDump website. Here, you’ll find a selection of categories for different channels such as the Canary Channel, Dev Channel, Windows 11, Windows Server, and Windows 10. Whether you’re looking for the latest Windows 11 updates or older versions, WDump has you covered.
To search for a specific version, you can simply use the search bar. For example, if you’re looking for Windows 10 version 2004, which was released in May 2020, you can type “Windows 10204” in the search field. This will immediately bring up the version you’re after.
For the sake of this example, let’s say you want to download Windows 11 version 23H2. Follow these simple steps:
Step-by-Step Guide
- Choose the Correct Version
On the WDump website, find the “Windows 11” section and look for version 23H2. Click the amd64 link for the x64 version of this release. If you’re on ARM-based hardware, you can choose the arm64 version. - Select Your Language
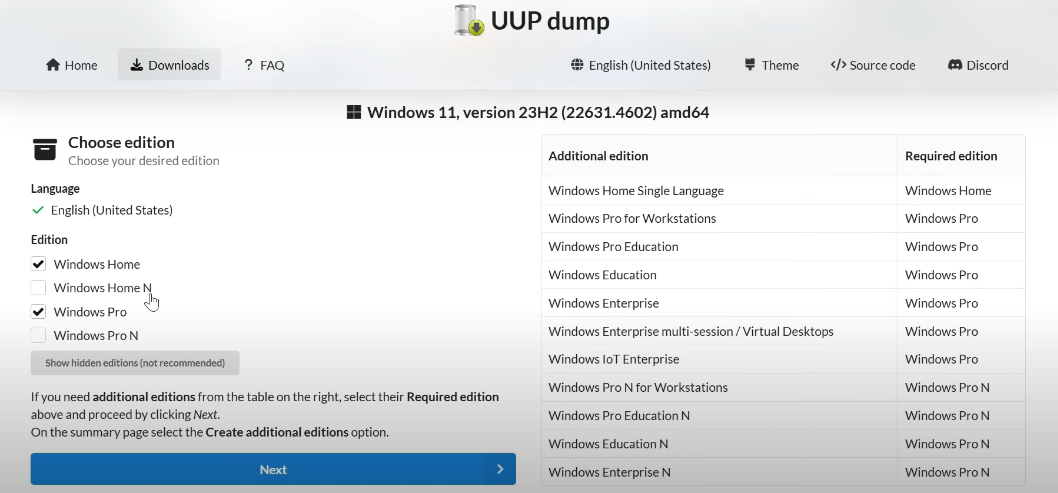
Once you’ve chosen your desired version, a dropdown menu will appear, prompting you to select your preferred language. For most users, English (United States) is the default, but you can choose any language you need. - Choose the Edition
Next, you’ll be prompted to select the edition of Windows 11 you want to download. You’ll typically see options like “Home” and “Pro.” Additionally, “N” editions are available for European Union users due to regulatory requirements. Most users will opt for “Pro,” but for this guide, we’ll go with the “Home” edition. - Select the Download Method
Here’s where it gets a little more interesting. WDump offers three download options:- Option 1: Download the W files without converting them into an ISO.
- Option 2: Download the W files and automatically convert them into a bootable ISO image.
- Option 3: Download the W files, convert them to an ISO, and include additional editions such as Windows 11 Pro, Education, or Enterprise.
For most general users, Option 2 is the best choice. It will download the necessary files and create a bootable ISO image for installation.
- Customize the ISO Image
After selecting your download method, you’ll see several options to customize the ISO creation process:- Include Updates: This option ensures that any cumulative updates or patches are integrated into the final ISO, keeping it up to date.
- Run Component Cleanup: If you want to reduce the ISO size and improve system efficiency, you can remove unnecessary files using this option.
- NET Framework 3.5 Integration: If you plan to use legacy software requiring NET Framework 3.5, this option integrates it into the ISO.
- ESD Compression: This option compresses the ISO to make it smaller, ideal for storage or easier sharing, though it might slightly slow down the installation process.
- Create the ISO
After making your selections, click on the Create Download Package button. WDump will generate a zip file containing all the necessary files for your ISO. - Download and Extract the ZIP File
Once the zip file is ready, download it to your computer. Extract the contents, and inside the folder, you will find a file called wpor_download_windows.cmd. This is the script that will download and prepare your ISO. - Run the Script
Right-click on the wpor_download_windows.cmd file and choose Run as Administrator. A command prompt window will open, and the script will begin downloading the necessary files from Microsoft’s servers. This may take some time, depending on the version you’re downloading and your internet speed.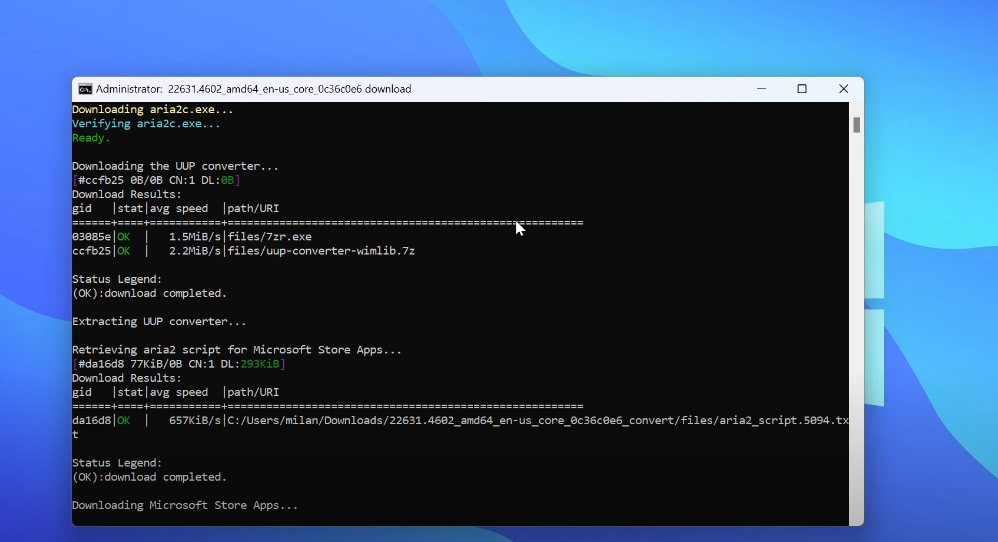 Grab a cup of coffee, as the process might take up to an hour or more.
 - Complete the Process
Once the download is complete, the command prompt will display “Finished.” Press 0 to exit the command prompt. You will now find your newly created Windows 11 ISO file in the same folder.
Creating a Bootable USB Drive
Now that you have your Windows 11 ISO, you can use a tool like Rufus to create a bootable USB drive. Simply insert a USB drive, open Rufus, and select the ISO file you just downloaded. Follow the prompts to create your bootable installation media.
Conclusion
With WDump, downloading older versions of Windows 11 ISOs has never been easier. Whether you’re looking to test compatibility with a specific version or just prefer an older build, WDump gives you a safe, easy way to get the version you need. By following this guide, you can download the desired version, create a bootable USB drive, and have your system up and running in no time.
Happy downloading, and enjoy your Windows 11 experience!