Are you looking to make a complete switch from Windows 11 to Ubuntu as your primary operating system? If so, you’ve come to the right place! In this step-by-step guide, we’ll walk you through the entire process, ensuring that you make the transition smoothly and confidently.
But before we dive into the installation, let’s start with an important note: removing Windows 11 means that all the data on your hard drive will be erased forever. So, it’s absolutely critical to back up your important files before proceeding. Whether it’s to an external drive or cloud storage, ensure that all your precious data is safely stored elsewhere. Once that’s done, let’s get started!
Step 1: Downloading Ubuntu
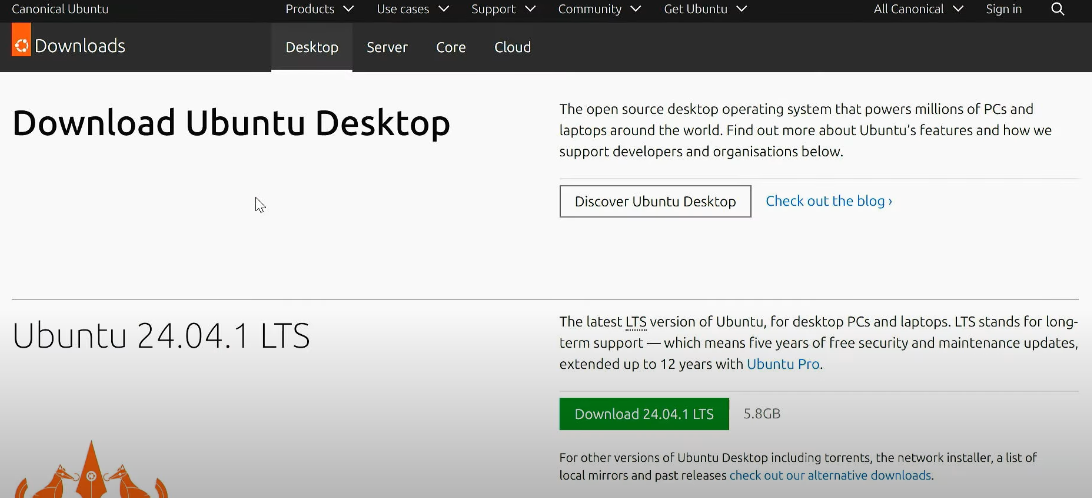
The first thing we need is the Ubuntu ISO file, which is available on the official Ubuntu website. Simply visit the site, and download the latest version of Ubuntu Desktop. This is the version you’ll be installing.
Next, we need a tool to create a bootable USB drive. Rufus is a great choice for this job. If you don’t already have it, head over to Rufus’ official website and download it.
Step 2: Creating a Bootable USB Drive
For this process, you’ll need a USB drive with at least 8GB of storage. Once you’ve plugged your USB drive into your computer, follow these steps:
- Open Rufus and select the Ubuntu ISO file that you just downloaded.
- Click Start. Rufus will begin writing the Ubuntu installation image to your USB drive.
- Once the process is complete, your bootable USB is ready to use!
Step 3: Booting from the USB Drive
Now that your USB drive is ready, it’s time to boot from it and start the installation process. Here’s how to do that:
- Restart your computer and access the BIOS/UEFI settings (usually by pressing a key like F2 or Delete during boot).
- Navigate to the boot menu and select your USB drive to boot from it.
Your computer will now boot into the Ubuntu installation screen. From here, you’ll be given the option to either Try Ubuntu (to test it out first) or Install Ubuntu directly. Select Install Ubuntu to proceed.
Step 4: Installing Ubuntu and Removing Windows 11
Here’s the crucial part of the process. We will completely remove Windows 11 and replace it with Ubuntu. Follow these steps carefully:
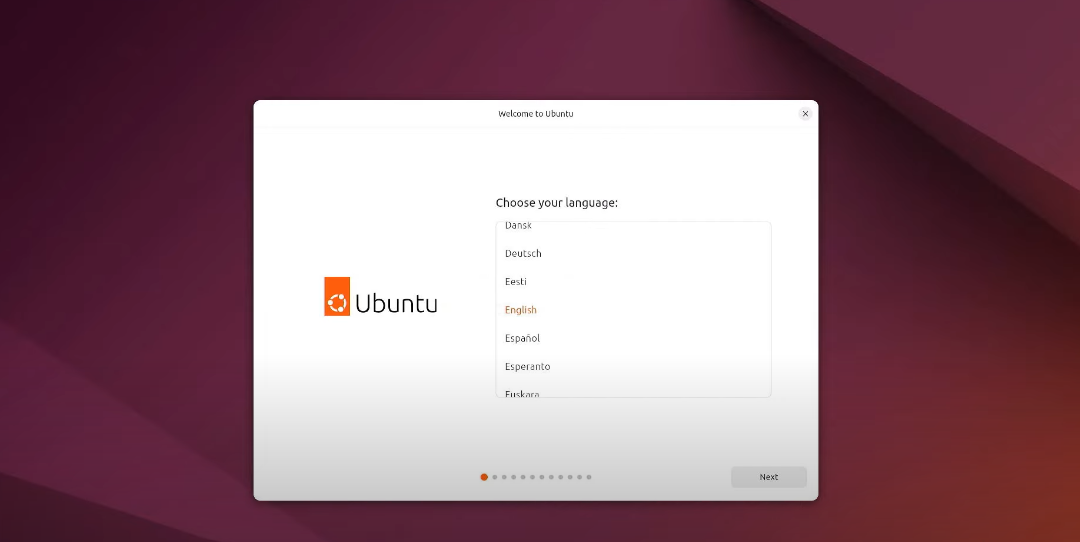
- Choose your preferred language and select your keyboard layout (for example, English US).
- If you’re connected to a Wi-Fi network, Ubuntu will prompt you to connect to it. Alternatively, if you’re on a wired connection, you can skip this step.
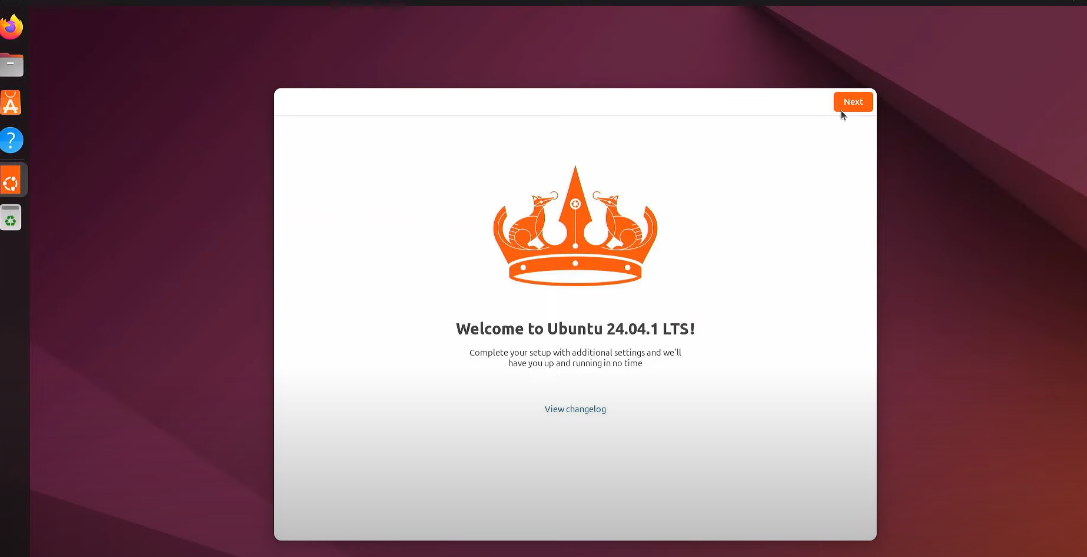
- Click Next to proceed.
- Important: In the next step, you’ll be asked to choose how you want to install Ubuntu. To completely remove Windows 11, select Erase disk and install Ubuntu. This option will wipe all data from your drive, including Windows 11.
- Now, enter your user details: your name, the computer’s name, and choose a username and password for your new Ubuntu system.
- Select your time zone from the map or drop-down menu.
- Click Install Now and confirm your selection.
Ubuntu will now begin the installation process. The installer will copy files, install packages, and configure the system. During this process, you’ll be treated to a lovely slideshow highlighting some of Ubuntu’s best features. Take a moment to relax and appreciate the beauty of open-source technology!
Step 5: Completing the Installation
Once the installation is complete, Ubuntu will prompt you to restart your computer. Here’s what you need to do:
- Remove the installation USB drive when prompted.
- Press Enter to reboot.
Your computer will now boot into your freshly installed Ubuntu operating system.
Step 6: Logging into Ubuntu
When your computer restarts, you’ll be greeted by the Ubuntu login screen. Enter the username and password you created earlier, and voilà! You’re now in your brand-new Ubuntu environment, ready to explore and make it your own.
Conclusion: You’re Ready to Go!
Congratulations, you’ve successfully removed Windows 11 and installed Ubuntu as your primary operating system! Whether you’re new to Linux or a seasoned user, Ubuntu offers a user-friendly, powerful experience with an open-source philosophy.
Now that your system is up and running, you can begin customizing Ubuntu to suit your needs. From installing apps to exploring new workflows, the possibilities are endless.
We hope this guide was helpful! If you have any questions or need further assistance, feel free to drop a comment below. Enjoy your new, beautiful Ubuntu setup!
Happy computing! 🌱