Today, I’m going to show you how to manually set a custom resolution on your PC. Sometimes, the default resolution provided in Windows may not fit your specific needs. Manually setting a custom resolution allows you to tailor your display settings exactly to your preferences.
Before we dive in, please remember that setting a custom resolution is not risk-free. Always proceed with caution, especially when working with high or low resolutions, as it may cause display issues if not done correctly.
Method 1: Using Graphic Card Software
The easiest way to set a custom resolution is through your graphic card’s control software. If you have an NVIDIA or AMD graphics card, you can do this directly through their respective control panels.

- Open Your Graphic Card Software:
If you have an NVIDIA or AMD graphics card, open the corresponding software (NVIDIA Control Panel or AMD Radeon Settings). - Create Custom Resolution:
In the software, look for the option to create a Custom Resolution. This is usually found under the Display or Resolution section. Click Create Custom Resolution. - Enter Resolution Settings:
You will need to enter the width, height, refresh rate, and color depth for your desired resolution.
For example, if you have a 16:9 monitor, ensure your custom resolution maintains this aspect ratio.
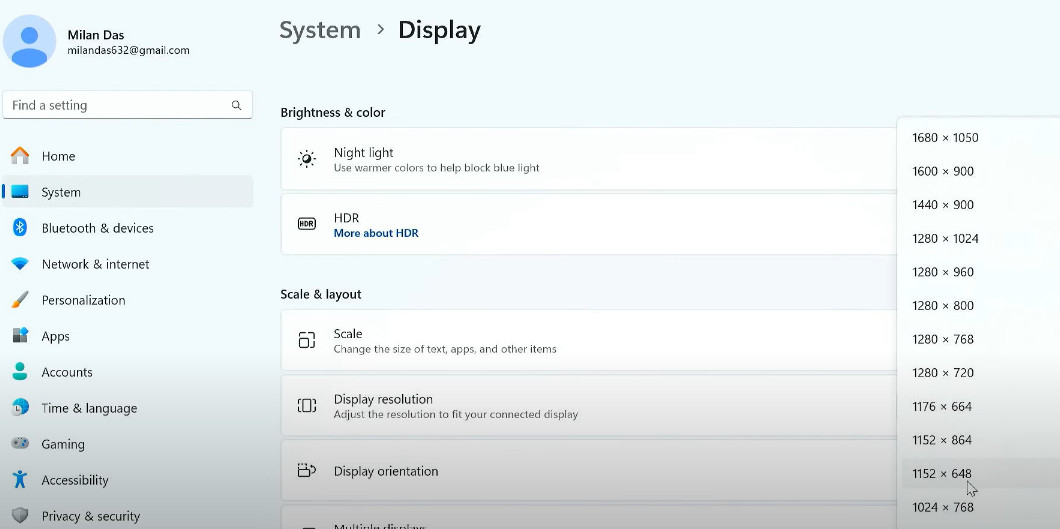
The default resolution might be 1920×1080, but you can lower it to something like 1152×648 pixels for a performance boost in games and other applications. - Test the New Resolution:
Click Test to see if the new resolution works. If it does, click Apply.
Method 2: Using Third-Party Software
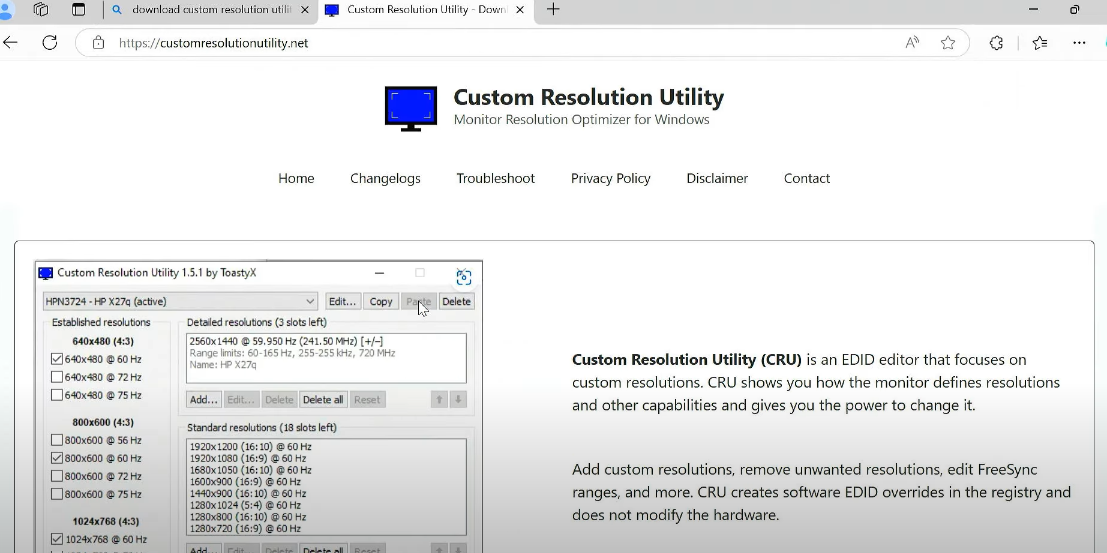
If your graphics card software doesn’t support custom resolutions, you can try third-party software like CRU (Custom Resolution Utility). This tool is widely used and supports custom resolutions on various displays.
- Download CRU:
Go to the official website and download CRU (Custom Resolution Utility).
Once downloaded, unzip the file. - Open CRU:
You don’t need to install CRU, just open the program. It will display a list of all the active resolutions for your monitor. - Add a New Resolution:
In the top section of the CRU window, click Add to create a new resolution. Enter the width, height, and refresh rate that you prefer. - Save the Settings:
Once you’ve entered your custom resolution, click OK to save your settings and exit CRU. - Restart Graphics Driver:
After setting up your custom resolution, run the restart program provided in CRU. This will force your graphics driver to reload the new settings.
Step 3: Apply the Custom Resolution in Windows
Now that you have set the custom resolution, you need to apply it in Windows:
- Go to Display Settings:
Right-click on your desktop and select Display Settings. - Select the Custom Resolution:
Under Display Resolution, look for your newly created custom resolution. Select it from the list. - Confirm the Changes:
If the resolution looks correct, confirm the changes by selecting Keep Changes.
Conclusion
Now you know how to set a custom resolution on your PC. Whether you’re using your graphics card’s software or third-party tools like CRU, you can easily adjust your display settings to better suit your needs. Custom resolutions can be particularly useful for improving gaming performance or optimizing screen real estate for specific applications. Just remember to always proceed with caution, especially when experimenting with resolutions outside the standard ranges.