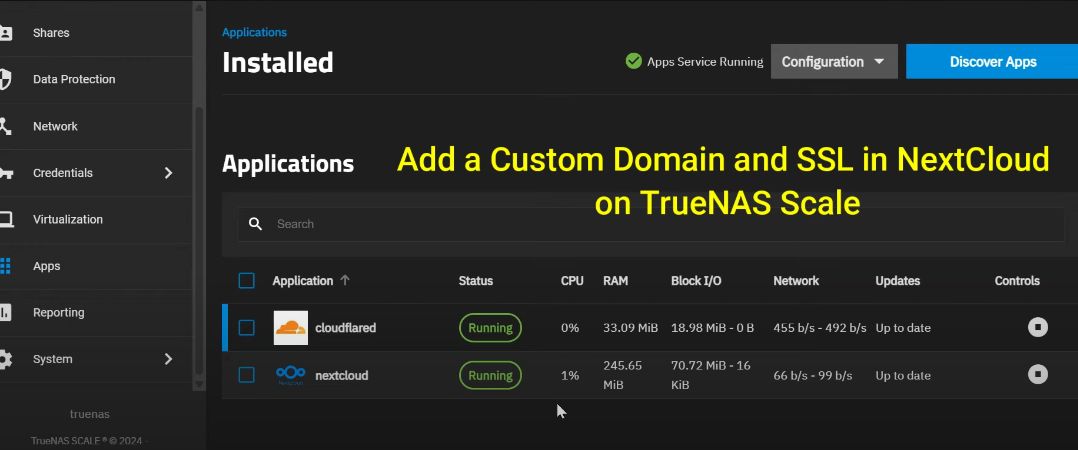
Hello everyone, and welcome back to Tech Druid — your ultimate guide for tech tips and tutorials! I’m Milan, and today I’m going to show you how to add a custom domain and SSL certificate to your Nextcloud instance running on TrunaScale.
This setup ensures your Nextcloud is not only secure but also easily accessible over the internet, fully integrated with a professional domain. Whether you’re hosting personal backups, collaborating on projects, or setting up a private cloud, this tutorial will guide you through every step of the process. So, let’s dive in!
What You’ll Need
Before we get started, here’s a quick rundown of what you’ll need:
- A running Nextcloud instance on TrunaScale
If you haven’t set this up yet, check out my previous tutorial (link in the description below). - A domain name
You can purchase one from registrars like Hostinger, Namecheap, or GoDaddy. For this tutorial, I’ll be using my domain, techydruid.com, purchased from Hostinger. - A free Cloudflare account
If you don’t have one yet, I’ll show you how to create one in this tutorial.
Step 1: Set Up a Cloudflare Account
The first thing you need to do is create a Cloudflare account.
- Visit the Cloudflare website and click on Sign Up.
- Ensure that you select the free tier during the sign-up process. This plan is sufficient for our needs.
- Enter your email address and create a password to complete the registration.
Step 2: Add Your Domain to Cloudflare
Once you’ve signed in to Cloudflare, it’s time to add your domain:
- After logging in, click Add a Site and enter your domain name (e.g., techydruid.com).
- Click Continue and select the Free Plan. Proceed to the DNS management page.
- If there are any existing DNS records, delete them to start fresh.
- Refresh the page, click Continue, and confirm that you’ll add DNS records later.
Cloudflare will then generate nameservers for your domain — copy these nameservers.
Step 3: Update Nameservers with Your Registrar
Next, you need to update the nameservers at your domain registrar:
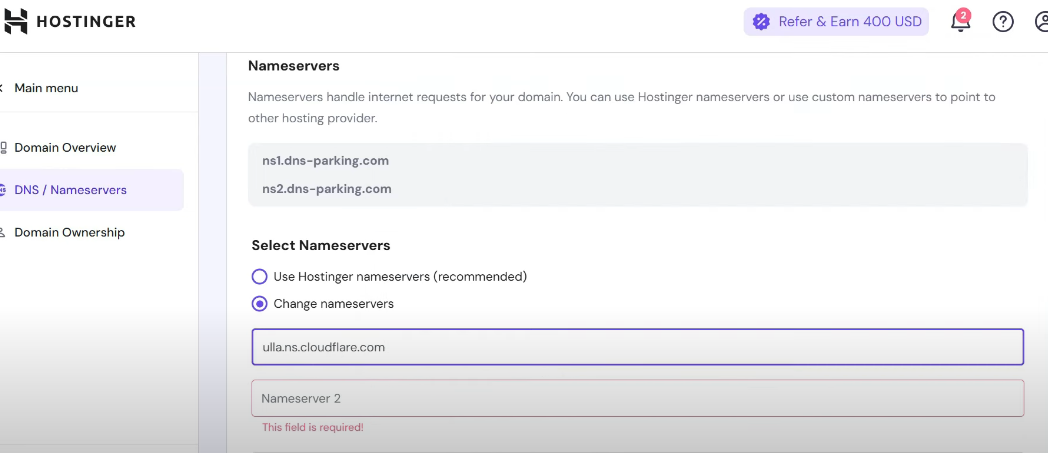
- Log in to your registrar’s dashboard (in my case, Hostinger).
- Select your domain and navigate to the DNS or Nameserver Settings.
- Delete the default nameservers and replace them with the ones provided by Cloudflare.
- Save your changes, then return to Cloudflare and click Check Nameservers.
- Wait about 10-15 minutes for the domain status to show as Active.
Step 4: Create a Cloudflare Tunnel
Now, let’s create a Cloudflare Tunnel:
- In your Cloudflare dashboard, navigate to Zero Trust.
- Enter a team name of your choice and select the free plan for your Cloudflare Zero Trust account.
- Click Proceed to Payment, but don’t worry — you won’t be charged. You can enter your payment details if you wish to upgrade later.
- After filling in your details, click Next to proceed.
- In the Cloudflare Zero Trust dashboard, go to the Network section and select Tunnels.
- Click Add a Tunnel to create a new one.
- Choose Cloudflared as the tunnel type, name your tunnel (e.g., Nextcloud Tunnel), and save it.
- Cloudflare will generate a command to install the Cloudflare Tunnel client. Copy this command and paste it into a notepad, but remove everything except the authentication token.
Step 5: Install the Cloudflare Tunnel on TrunaScale
Next, we’ll install the Cloudflare Tunnel on TrunaScale:
- Open your TrunaScale dashboard and navigate to Apps.
- Search for the Cloudflare Tunnel app and paste the authentication token from the previous step in the app configuration page.
- Click Install and wait for the app to deploy.
- Once the app is running, return to your Cloudflare dashboard and ensure the tunnel status shows as Connected.
Step 6: Configure Public Hostnames in Cloudflare
Let’s now configure the public hostname for your Nextcloud instance:
- In your Cloudflare dashboard, go to the Tunnel Settings and click Next.
- In the Subdomain field, type the name of your choice, like nextcloud (or any subdomain you prefer).
- Select your domain from the dropdown list, then in the Service URL field, enter the internal IP and port of your Nextcloud server.
- Save the tunnel configuration. Cloudflare will now forward all traffic from your subdomain to your Nextcloud server.
Step 7: Enable SSL for Secure Connections
Next, we’ll enable SSL to secure the connection:
- Go to the SSL/TLS Settings in your Cloudflare dashboard.
- Set the SSL mode to Full (Strict). This ensures all connections to your domain are encrypted end-to-end.
- The beauty of this setup is that no manual SSL installation on Nextcloud is needed — Cloudflare will handle it automatically.
Step 8: Add the Domain to Trusted Domains in Nextcloud
Now that the domain is set up, we need to ensure Nextcloud recognizes it as a trusted domain:
- Log into your TrunaScale dashboard and go to System. Then click on Shell to open a terminal.
- Type
sudo suand press Enter, then input your Truna admin password. - To locate the Nextcloud configuration file, type the following command:
find /mnt -name "config.php" - Once you’ve located the file, use the Nano editor to open it. Type:
nano /path/to/config/config.php - Scroll down to the section that begins with trusted_domains and add your domain to the list. Make sure the domain is enclosed in single quotes and ends with a comma.
- Press Ctrl + X to exit the editor, type Y to confirm saving, and press Enter to finalize.
- Restart the Nextcloud application to apply the changes.
Step 9: Verify External Access
Finally, it’s time to verify external access to your Nextcloud instance:
- Disconnect from your local network and connect your device to a mobile hotspot.
- Open a browser and visit your Nextcloud domain. You should now see your Nextcloud login page, secured with HTTPS, and recognized as a trusted domain.
Conclusion
And that’s it! You’ve successfully configured a custom domain and SSL certificate for your Nextcloud instance running on TrunaScale using Cloudflare Tunnel. This setup ensures that your Nextcloud is secure, accessible, and fully integrated with a professional domain.
If you found this tutorial helpful, don’t forget to like, share, and subscribe to Tech Druid for more tech guides and tips. Thanks for watching, and see you in the next tutorial!