If you’ve ever wondered how to boot your ASUS ROG laptop from a bootable USB drive, you’re in the right place! Whether you’re installing a new operating system, troubleshooting an issue, or running a live USB, this guide will take you through the entire process step by step. Let’s dive right in!

What You’ll Need
Before we get started, ensure you have the following:
- A bootable USB drive with the operating system or tool you want to use.
- A USB 3.0 port on your ASUS ROG laptop (if available, for better performance).
Step 1: Insert the Bootable USB Drive
Start by inserting the bootable USB drive into one of the available USB ports on your ASUS laptop. If your laptop has a USB 3.0 port, use that for faster data transfer.
Important Tip: Make sure the USB drive is connected directly to the laptop, not through a USB hub, to avoid detection issues.
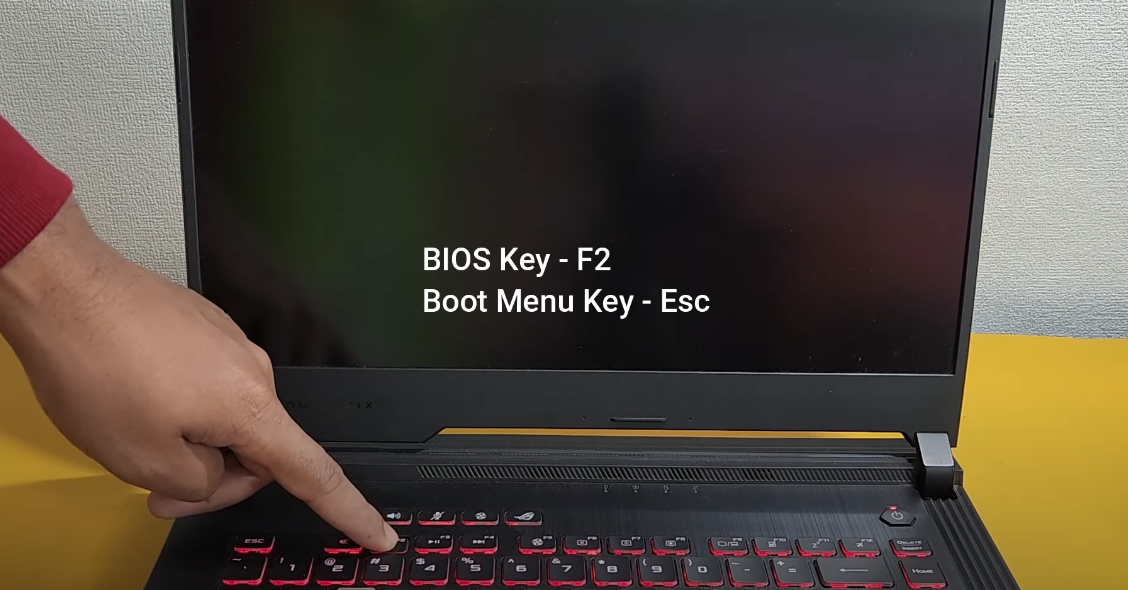
Step 2: Access the BIOS
Power on your laptop. As soon as the ASUS logo appears, start pressing the F2 key repeatedly. This will take you to the BIOS setup screen.
Step 3: Navigate to Boot Priority
Once you’re in the BIOS, locate the Boot Priority section. Here, you’ll see a list of devices that your laptop can boot from, such as the internal hard drive, network boot options, and the USB drive.
- If you don’t see your USB drive listed, ensure it’s properly formatted as a bootable drive. Tools like Rufus or Balena Etcher can help you create a bootable USB from an ISO file.
Step 4: Set USB Drive as the First Boot Option
Now, we need to make sure the USB drive is the first boot option. To do this:
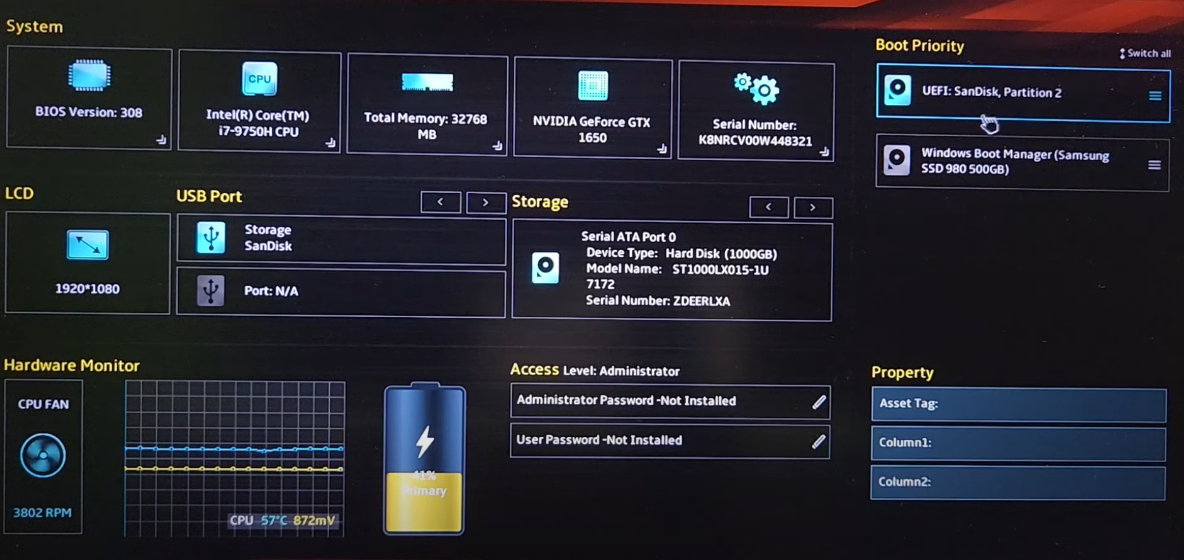
- Drag and drop the USB drive to the very top of the boot list.
- This tells your laptop to check the USB drive first when looking for an operating system.
Step 5: Disable Secure Boot (if required)
For some operating systems, particularly those with unsigned bootloaders, you will need to disable Secure Boot. To do this:
- Switch to Advanced Mode in the BIOS.
- Navigate to the Security tab and find the Secure Boot option.
- Select it and disable it. This will allow your laptop to boot from USB drives that don’t have a signed bootloader.
Step 6: Save and Exit BIOS
After configuring your boot options, it’s time to save the changes and exit the BIOS. You can do this by:
- Pressing the F10 key, or
- Clicking the Save and Exit button.
Your laptop will now restart, and it will check the USB drive for bootable media.
Step 7: Boot from the USB Drive
If everything went according to plan, your laptop should now boot from the USB drive. Depending on what’s on the USB, it may take you directly to an operating system installation screen, a diagnostic tool, or another utility.
Follow the on-screen instructions to install your new operating system, run diagnostics, or perform any other tasks you need.
Conclusion
And that’s it! You’ve successfully booted your ASUS ROG laptop from a USB drive. Whether you’re installing a new OS, troubleshooting, or using a live environment, your laptop is now ready for action. Enjoy the flexibility and power of booting from a USB with ease!