In today’s tutorial, I’ll show you how to install Bliss OS on your PC as a complete replacement for Windows, all without using a USB drive or DVD. This guide will cover each step, from downloading Bliss OS to setting up your PC to boot directly into it. Let’s get started!
Step 1: Download Bliss OS
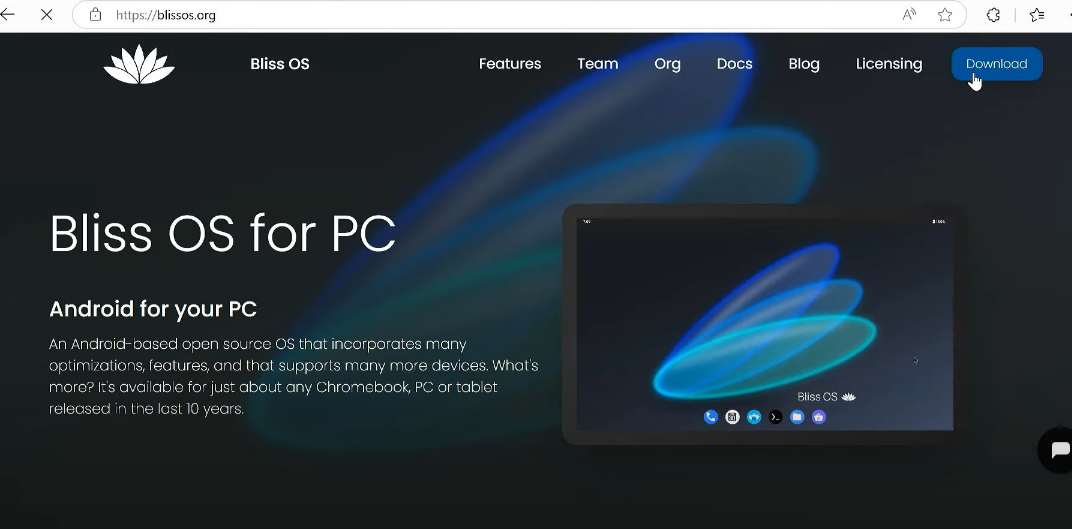
First, head to the official Bliss OS website at blissos.org. You’ll find several versions available, including versions 14, 15, 16, and Zenith. Since version 16 is still in beta and Zenith isn’t recommended for daily use, we’ll download version 15 for this setup.
Once the ISO file is downloaded, you’re ready to proceed.
Step 2: Mount the ISO File
- Go to your Downloads folder.
- Locate the Bliss OS ISO file, right-click on it, and select Mount. This will mount the ISO as a virtual drive on your computer.
Step 3: Create a Small Partition
Now, we need to create a small partition to store the contents of the ISO.
- Open Disk Management by searching for “disk management” in the Windows Start menu and selecting Create and format hard disk partitions.
- Right-click on your C Drive, select Shrink Volume, and create a 4GB partition.

- Format this new partition as FAT32 and label it ISO.
Step 4: Copy the ISO Contents to the New Partition
- Go back to the virtual drive where you mounted the Bliss OS ISO.
- Copy all the contents from the ISO and paste them into the ISO partition you just created.
Once done, right-click the virtual drive and select Eject to unmount it.
Step 5: Convert the Partition to EFI
To make sure your PC recognizes this ISO partition as bootable, we need to convert it to an EFI system partition.
- Open Command Prompt as an administrator.
- In the Command Prompt, type
diskpartand press Enter. - Type
list diskand press Enter to list all disks. - Select the main disk containing the ISO partition by typing
select disk 0(or the appropriate disk number) and press Enter. - Type
list partitionand press Enter to see all partitions on the selected disk. - Select the 4GB partition you created by typing
select partition X(where X is the partition number for the ISO) and press Enter. - Now, set the partition ID to EFI by typing
set id=ef00and press Enter. This makes the partition bootable. - Type
list partitionagain to confirm the partition is listed as an EFI system partition.
Step 6: Boot Into Bliss OS Installer
- Restart your computer and enter the Boot Menu (usually by pressing F12, Esc, or Del during startup).
- In the Boot Menu, you should now see the ISO partition as a bootable device.
- Select the UEFI option to boot into the Bliss OS installer.
Step 7: Partition the Hard Drive for Bliss OS
Once the Bliss OS installation screen appears:
- Choose Bliss OS Installation.
- When prompted for the installation destination, select Create or Modify Partitions. This will open the CF disk partition manager.
- Delete all existing Windows partitions to free up space for Bliss OS.
- Create two partitions:
- A 1GB EFI partition (set it as EFI system for booting).
- A Linux partition using the remaining space, set its type to Linux filesystem (for Bliss OS installation).
- Confirm the partitioning by typing Yes and pressing Enter. Then, type Quit to exit CF disk.
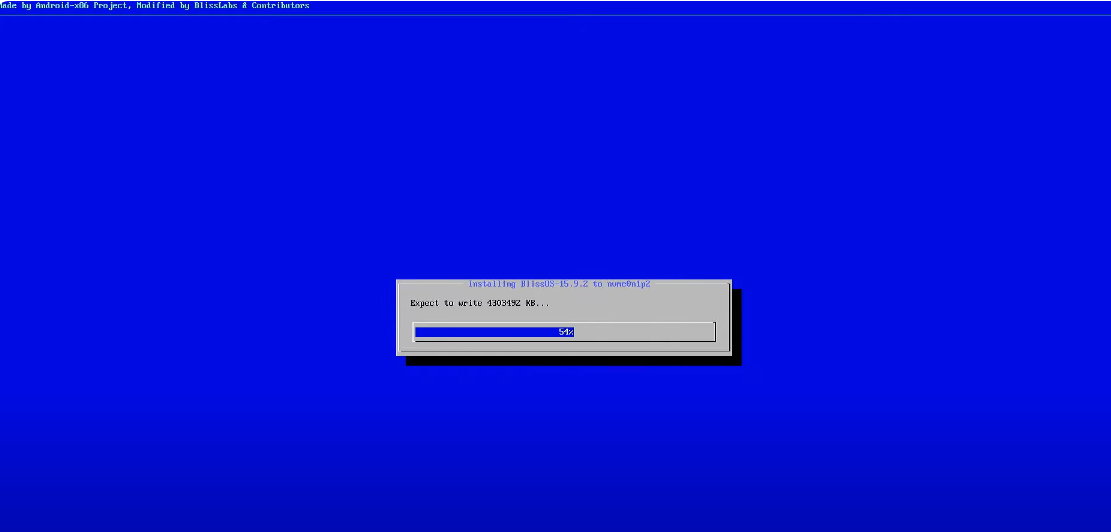
Step 8: Install Bliss OS
- Select the EFI partition to install the boot files. Format it as FAT32.
- Now, select the second partition (the one for Bliss OS), format it as ext4, and label it Bliss OS for easy identification.
- For the bootloader, select GRUB, as it is the recommended option for installing Bliss OS as the only operating system on your machine.
- Proceed with the installation.
Step 9: Reboot and Boot Into Bliss OS
Once the installation is complete, reboot your PC. If everything goes smoothly, your PC will boot directly into Bliss OS.
Congratulations! You have successfully installed Bliss OS on your PC, fully replacing Windows, all without needing a USB drive or DVD.
Conclusion
You now have a fully functional installation of Bliss OS on your PC. You’ve learned how to download, mount, partition, and set up your PC to boot directly into Bliss OS without relying on external installation media. If this tutorial was helpful, please like, subscribe, and hit the notification bell for more tech guides.