Hey everyone, welcome back to Techy Druid! Today, we’re going to walk through setting up your very own personal cloud using Nextcloud on TrueNAS Scale. If you’ve been looking for a secure, self-hosted alternative to Google Drive or Dropbox, this tutorial is perfect for you. With these two open-source technologies, you’ll have full control over your files and data, without relying on third-party cloud services.
Let’s dive right in!
What You’ll Need
Before we begin the setup, let’s go over the hardware requirements for TrueNAS Scale and Nextcloud:
- Dedicated Machine: You need a PC or server to install TrueNAS Scale. It could be an old computer lying around or a dedicated server.
- Processor: A 64-bit Intel or AMD processor with virtualization support.
- Hard Drives: At least two hard drives. One will be used for the operating system, and the other for creating storage pools.
- USB Flash Drive: A minimum of 8GB for creating a bootable USB.
- Reliable Internet Connection: Essential for downloading software and accessing cloud features.
Step 1: Installing TrueNAS Scale
Let’s start by installing TrueNAS Scale on your server or machine.
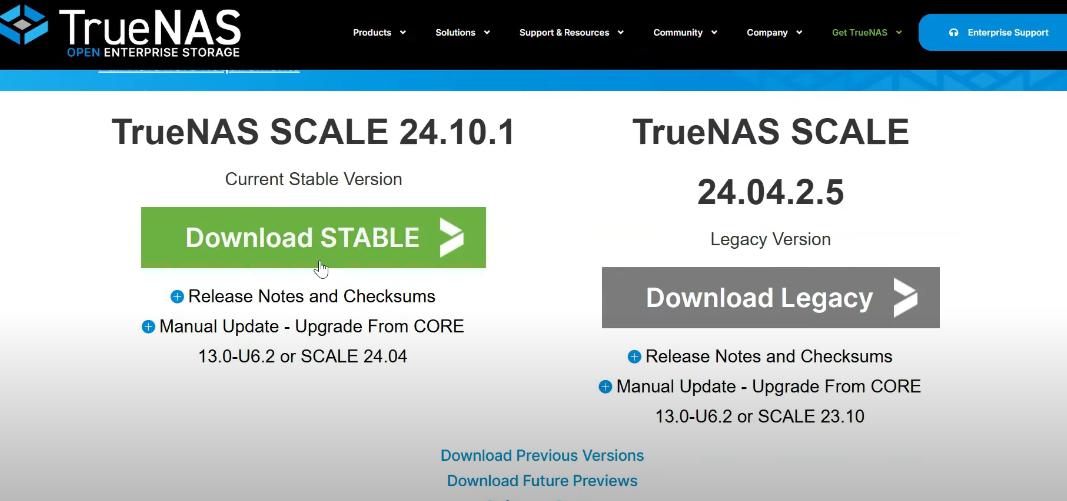
- Download TrueNAS Scale: Head to the TrueNAS download page, select the latest stable version, and download the ISO file.
- Create a Bootable USB Drive: We’ll use Balena Etcher for this step.
- Download and install Balena Etcher.
- Insert your USB drive and select the TrueNAS Scale ISO file in Etcher.
- Choose your USB drive as the target and click Flash. Etcher will now write the TrueNAS Scale image to the USB.
- Install TrueNAS Scale:
- Insert the USB into your target machine and boot from it.
- The system will load the TrueNAS Scale installer. Follow the on-screen instructions, select your installation drive, set an admin username, and create a strong password.
- After the installation is complete, remove the USB and reboot the machine.
- Access the Web Interface:
- After rebooting, TrueNAS will show its IP address on the command-line interface (CLI).
- On another device on the same network, open a web browser and enter the TrueNAS server IP to access the web interface.
- Log in with the admin credentials you created.
Step 2: Setting Up Storage Pools in TrueNAS Scale
Once logged in to the TrueNAS web interface, we need to set up storage pools using your available drives.
- Create Storage Pool:
- Navigate to Storage > Pools and click Create Pool.
- Give your pool a descriptive name. For simplicity, I’m selecting Stripe (which is ideal if you only have one drive). If you have multiple drives, consider using Mirror or RAID-Z1/RAID-Z2 for better redundancy.
- Select the drives you want to include in the pool, and click Create Pool.
Step 3: Installing Nextcloud on TrueNAS Scale
Now, let’s install Nextcloud, a powerful open-source cloud storage solution.
- Install Nextcloud:
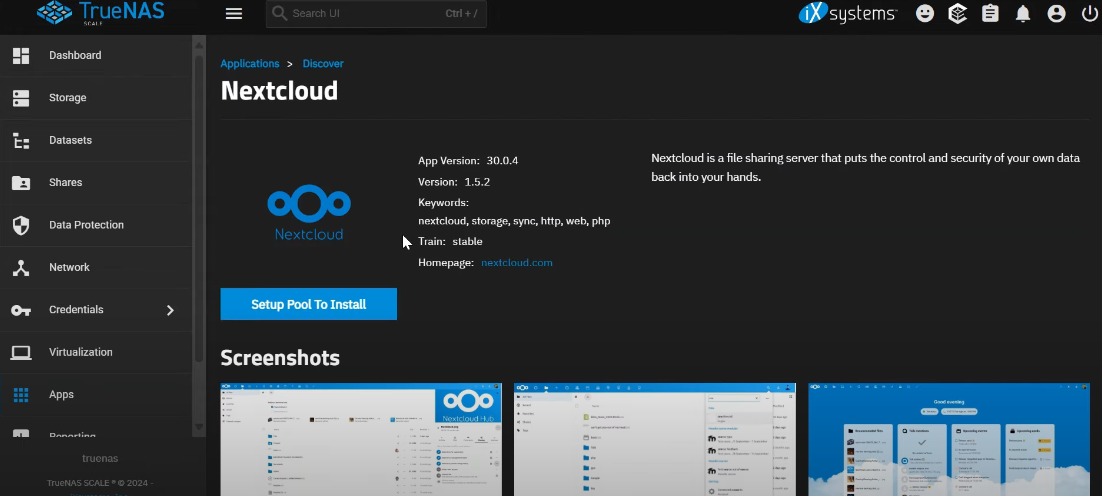
- In the Apps section of the TrueNAS web interface, search for the Nextcloud app.
- Choose the storage pool you created earlier to install Nextcloud in.
- Configure Nextcloud:
- Create a Nextcloud admin account.
- Enter your TrueNAS server IP in the host field.
- Set the Redis cache and Nextcloud database password.
- Enable Cron for automated background tasks.
- Select the TrueNAS default certificate (this is the self-signed certificate generated during TrueNAS installation).
- Click Install and wait for the process to complete.
Step 4: Accessing Your Nextcloud
Once Nextcloud is up and running, you can access it locally on any device within your network.
- Accessing via Web Browser:
- Open any browser, and enter the TrueNAS IP address followed by the port number (default:
192.168.x.x:8080). - Log in with your Nextcloud admin credentials to start using your cloud storage.
- Open any browser, and enter the TrueNAS IP address followed by the port number (default:
- Mobile Access:
- For mobile access, download the Nextcloud mobile app on your phone.
- Enter your server’s IP address or domain name and login with your admin credentials.
- Sync Across Devices:
- You can also install the Nextcloud desktop app on your computer to sync files across devices.
Step 5: Setting Up Remote Access (Optional)
At this point, you can use Nextcloud within your local network, but what if you want to access your cloud from anywhere in the world? Here’s how to set it up for remote access.
- Set Up Port Forwarding:
- Log into your router’s dashboard and locate the Port Forwarding section.
- Forward Port 327 to the TrueNAS server IP address.
- Set Up Dynamic DNS (DDNS):
- If your IP address changes frequently (which is common with home ISPs), set up Dynamic DNS (DDNS).
- Create a free account with No-IP or use your router’s built-in Dynamic DNS service (if it supports it).
- Enter a domain or hostname of your choice to keep your DDNS host updated with the changing public IP.
- Update Nextcloud Configuration:
- In the TrueNAS web interface, navigate to the Nextcloud app configuration page.
- Replace your local IP address with the DDNS hostname in the host field and save the changes.
Now, you can access Nextcloud remotely from anywhere, simply by using your DDNS domain!
Conclusion: Your Personal Cloud Awaits
Congratulations! You’ve just set up your own personal cloud with Nextcloud on TrueNAS Scale. Not only do you now have full control over your data, but you also have a secure, self-hosted alternative to mainstream cloud services like Google Drive, OneDrive, or Dropbox.
Whether you want to store and share files, collaborate with others, or access your data remotely, this setup gives you the freedom and security you need.
If you found this tutorial helpful, don’t forget to hit the like button, subscribe to Techy Druid, and leave a comment with any questions or tips you’d like to share.
Thanks for watching, and happy cloud computing!